With Zapier, you can automatically issue an Open Badge Factory badge when a learner completes a course in LearnDash — without writing any code.
For example:
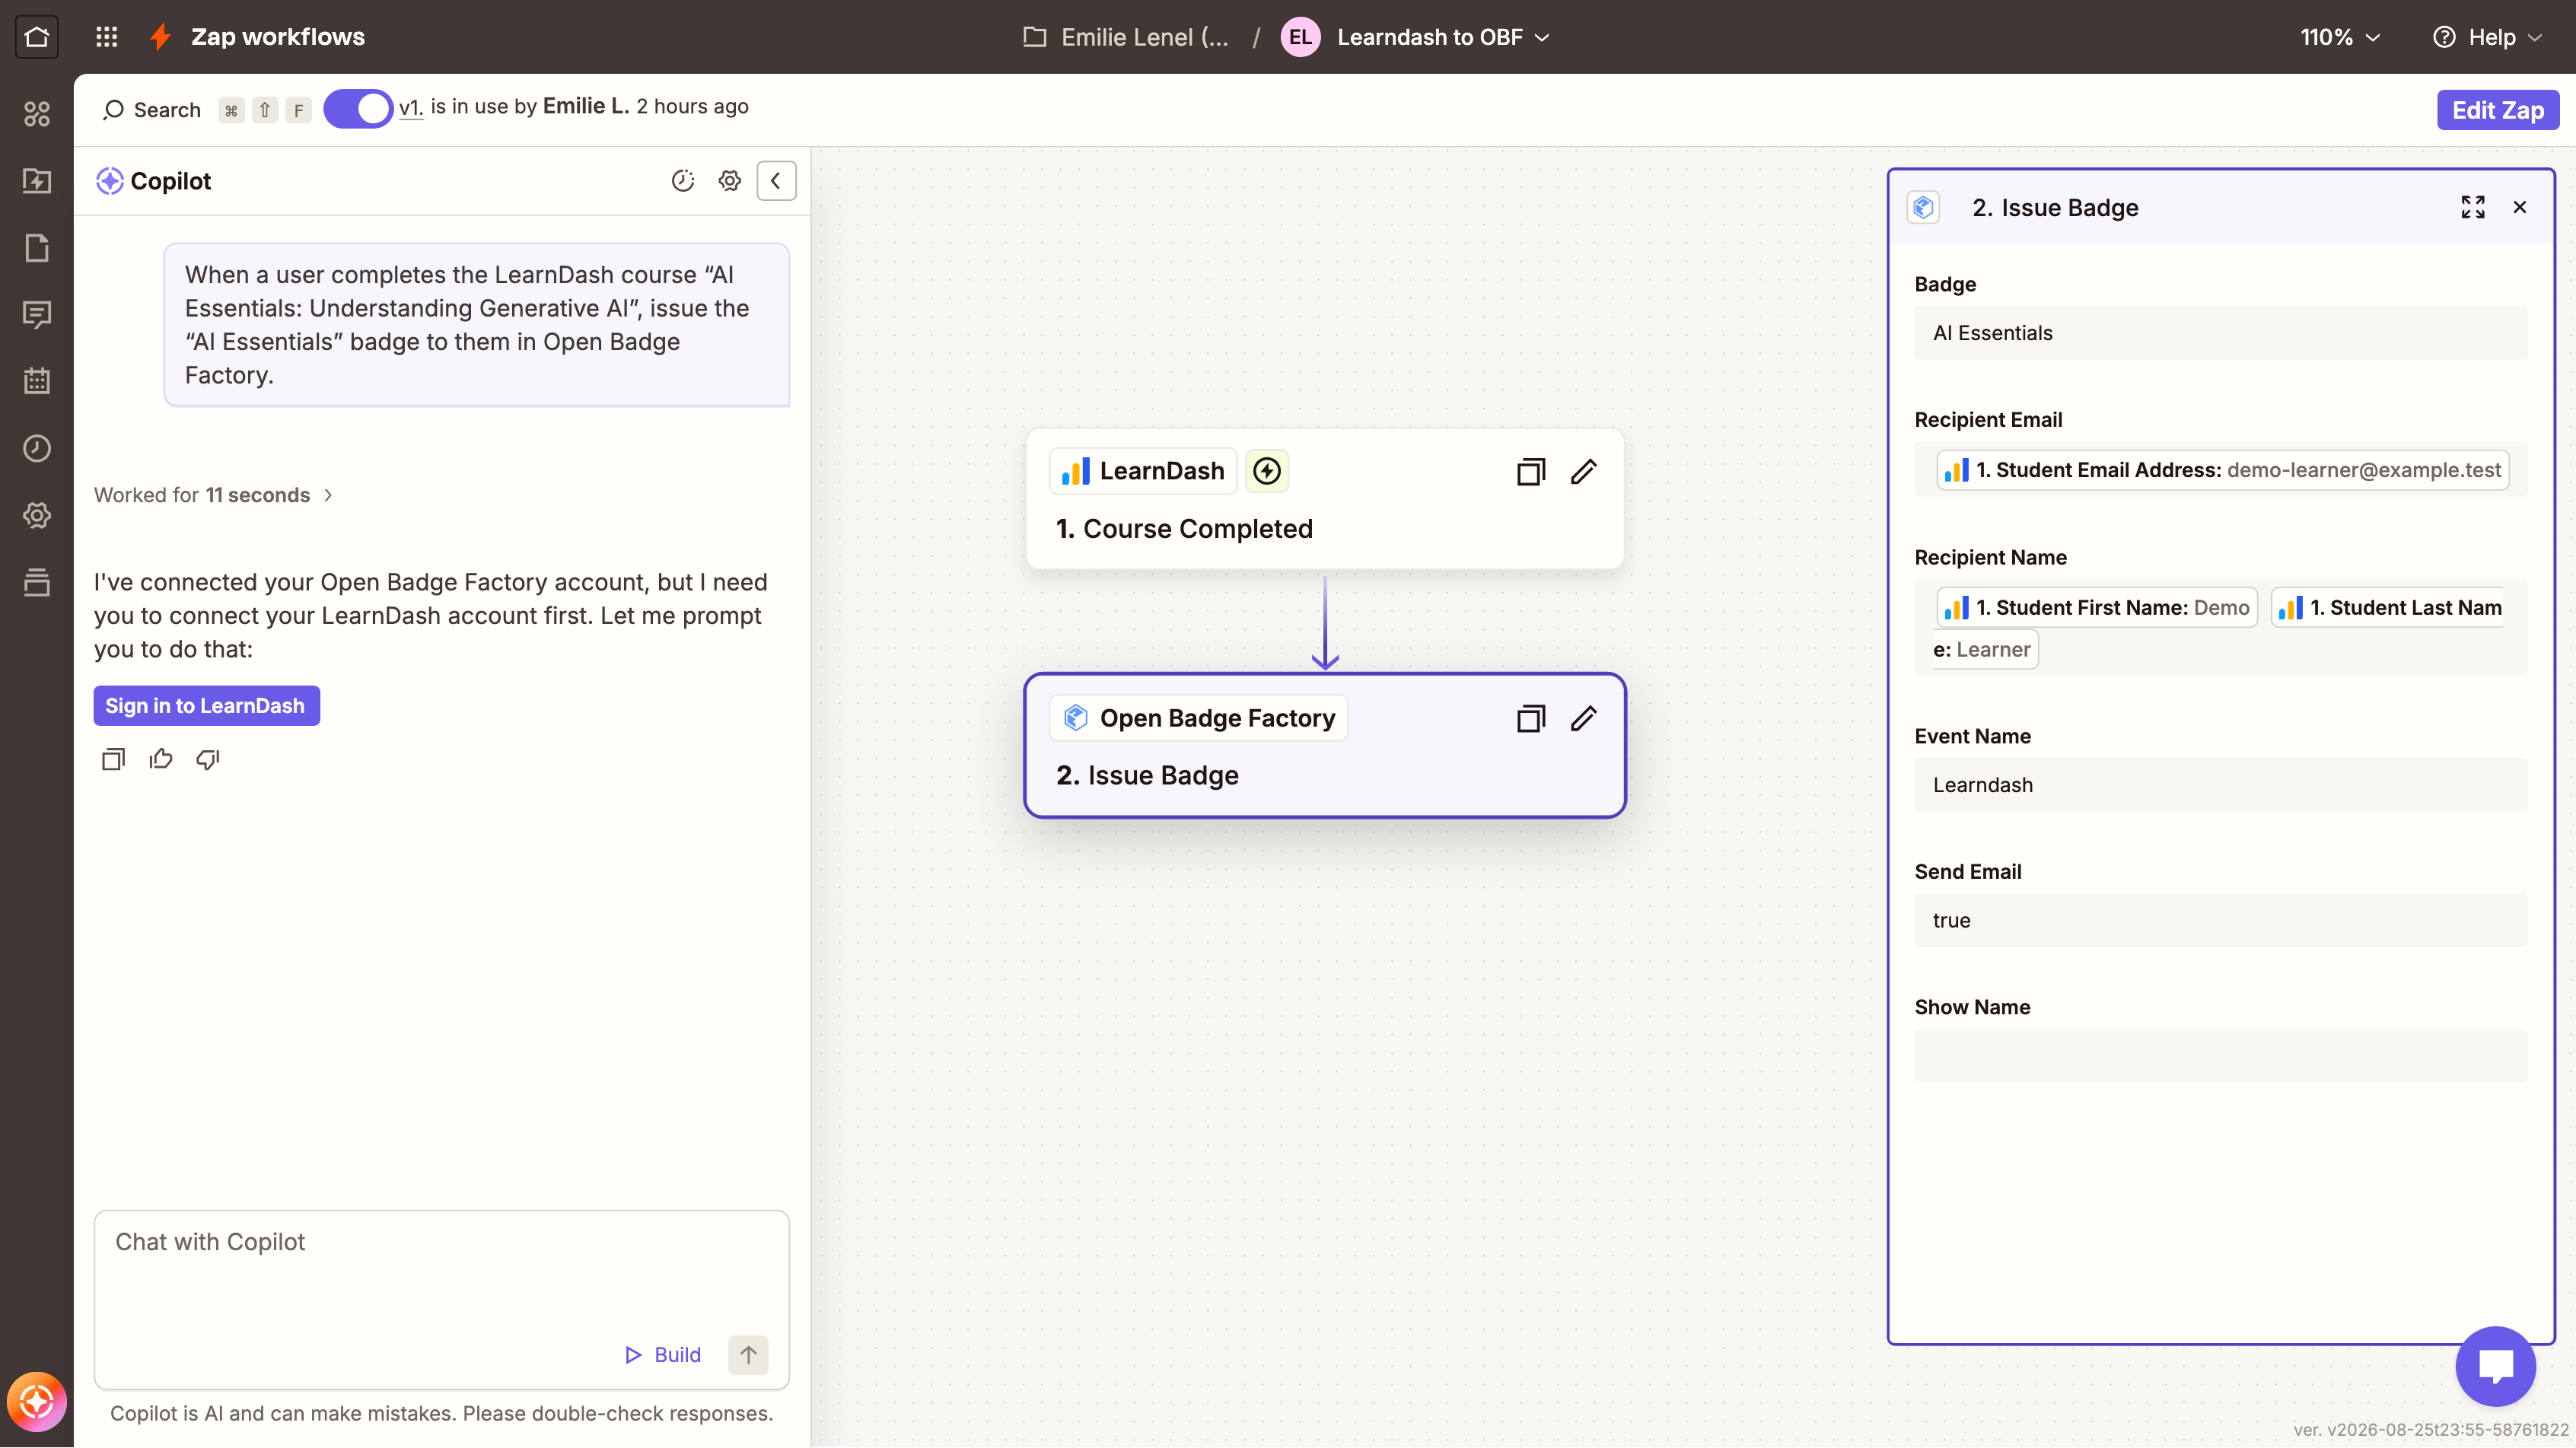
Learner completes a LearnDash course → Zapier detects the completion → Open Badge Factory issues the badge automatically
Open Badge Factory’s Zapier integration requires an OBF Pro licence. (Open Badge Factory)
Before you start
You will need:
- an Open Badge Factory Pro account;
- a LearnDash course;
- the Zapier for LearnDash add-on installed and activated on your Wordpress site;
- a Zapier account.
LearnDash provides an official Zapier add-on, available from LearnDash LMS → Add-Ons for customers with an active LearnDash licence.
1. Install the LearnDash Zapier add-on
From your WordPress administration area:
- Go to LearnDash LMS → Add-Ons.
- Find Zapier for LearnDash.
- Click Install Now.
- Activate the plugin.
Once activated, go to: LearnDash LMS → Zapier → Settings.
You will find the API key that Zapier will use to connect to your LearnDash site.
2. Create the automation in Zapier
Log in to your Zapier account and create a new Zap.
You can configure the workflow manually or use Zapier Copilot.
Option A — Create the Zap manually
Add the following Trigger:
App: LearnDash
Trigger event: Course Completed
Then connect your LearnDash account.
Zapier will ask you for:
- your WordPress website URL;
- your LearnDash Zapier API key.
You can copy the API key from: LearnDash LMS → Zapier → Settings.
When entering your website URL, LearnDash recommends including the final / at the end of the URL.
Option B — Use Zapier Copilot
You can also ask Zapier Copilot to create the workflow for you.
For example, enter: 'When a learner completes a LearnDash course, automatically issue an Open Badge Factory badge to that learner using their email address.'
Let Copilot create the initial Trigger and Action, then review the configuration before publishing the Zap.
3. Configure the LearnDash Trigger
Select:
Trigger event → Course Completed
Then select the LearnDash course for which you want to issue the badge.
For example:
AI Essentials: Understanding Generative AI
LearnDash supports several Zapier triggers, including course completion, lesson completion, topic completion and quiz completion.
For badge issuing, Course Completed is usually the simplest option because the badge is issued only once the learner has completed the whole course.
4. Test the LearnDash Trigger
Zapier needs some example learner data before you can configure the Open Badge Factory action.
Create or use a test learner and complete the course in LearnDash.
Then return to Zapier and click Test Trigger.
Zapier should retrieve information about the completion, including fields such as:
- learner email address;
- first name;
- last name;
- course information.
The exact fields displayed may vary depending on your LearnDash setup.
5. Add Open Badge Factory as the Action
Add a new Action to your Zap.
Search for:
Open Badge Factory
Select the badge issuing action and connect your Open Badge Factory account.
Then choose the badge you want to issue.
For example:
AI Essentials
6. Map the badge recipient
Zapier now needs to know who should receive the badge.
For the recipient email field, select the email address coming from your LearnDash Trigger.
For example:
Recipient email → LearnDash User Email
Do not enter a fixed email address here. The value should come dynamically from the learner who completed the course.
If the Open Badge Factory action provides additional recipient fields, you can also map:
First name → LearnDash First Name
Last name → LearnDash Last Name
This means each time another learner completes the course, their own details will automatically be sent to Open Badge Factory.
7. Test the Open Badge Factory action
Run the Action test in Zapier.
Zapier will send the test learner information to Open Badge Factory.
Check that:
- the correct badge has been issued;
- the recipient email is correct;
- the badge appears in your Open Badge Factory issuing history;
- the learner receives the expected badge notification.
8. Publish your Zap
Once your test is successful, click Publish in Zapier.
Your automation is now active.
From this point onwards:
1. The learner completes the LearnDash course
↓
2. LearnDash sends the completion event to Zapier
↓
3. Zapier sends the learner information to Open Badge Factory
↓
4. Open Badge Factory automatically issues the selected badge
Tip
Before activating your Zap for a live course, we recommend completing the full workflow once with a test learner.
This makes it easy to verify that the correct course, badge and recipient email have been selected.
This matches the current LearnDash workflow: the official integration supports Course Completed and uses the LearnDash Zapier API key, while OBF officially lists LearnDash → issue a badge at course completion as a supported Zapier use case.
Was this article helpful?
That’s Great!
Thank you for your feedback
Sorry! We couldn't be helpful
Thank you for your feedback
Feedback sent
We appreciate your effort and will try to fix the article